Rebuilding the short-block engine Kia Optima G4KE is a sophisticated and demanding job, one that calls for extraordinary precision and thorough knowledge of the engine mechanism.
Far from being easy, the process imposes deep procedures and close attention to the numerous procedures and torque specifications that are paramount in effective reassembly of the engine.
We’re guiding you across this detailed procedure to make this rebuild manageable to both rookies and seasoned mechanics.
From that first engine teardown attempt to carefully articulating the Kia Optima con rod and onto proper cylinder head bolt torque specifications for reassembly, this manual will confidently guide you through each and every step.
Following the proper torque specs and in-depth reassembly procedure, your Kia Optima engine will be left in perfect working condition for reliable and efficient use.
This is a very valuable piece of information while you are doing a rebuild at home in the garage or as part of the professional service.

Attention paid to applying correct torque specs and reassembly practices will find you very well prepared for a G4KE short block rebuilder.
These steps will not only put you on the path to having a perfectly rebuilt engine but also add to the very popular Durability and Long Life Performance of the Kia Optima: here are the steps discussed in this article.
- Prepare your workspace: clean and collect the necessary tools.
- Disassemble the engine: remove external components, and then label all parts.
- Inspect of the engine parts: check for wear and damage.
- Reassemble the Short Block: Put the pistons, rings, and crankshaft back in with lubrication.
- Torque the Bolts: Torque the main bearing caps and cylinder head bolts to manufacturer specifications.
- Reinstall External Components: Attach the oil pan, timing cover, manifolds, and other accessories.
Preparing Your Workspace for the Kia Optima Short Block Rebuild
Before you begin to disassemble the G4KE engine, it is critical to make sure you’ve got a location that is clean and organized to advance the prevention of the contamination of engine components throughout the assembly of the rebuild.
You’d start off well by having a workspace that is free of dust, dirt, and other debris that could otherwise affect the integrity of your engine parts.
A clean, well-ordered workspace enables the actual rebuild process to go cleanly and ensures your engine has every chance of longevity post-rebuild.
After the workspace is clean and in order, make sure to assemble all the tools and equipment that would be needed in the rebuilding process.
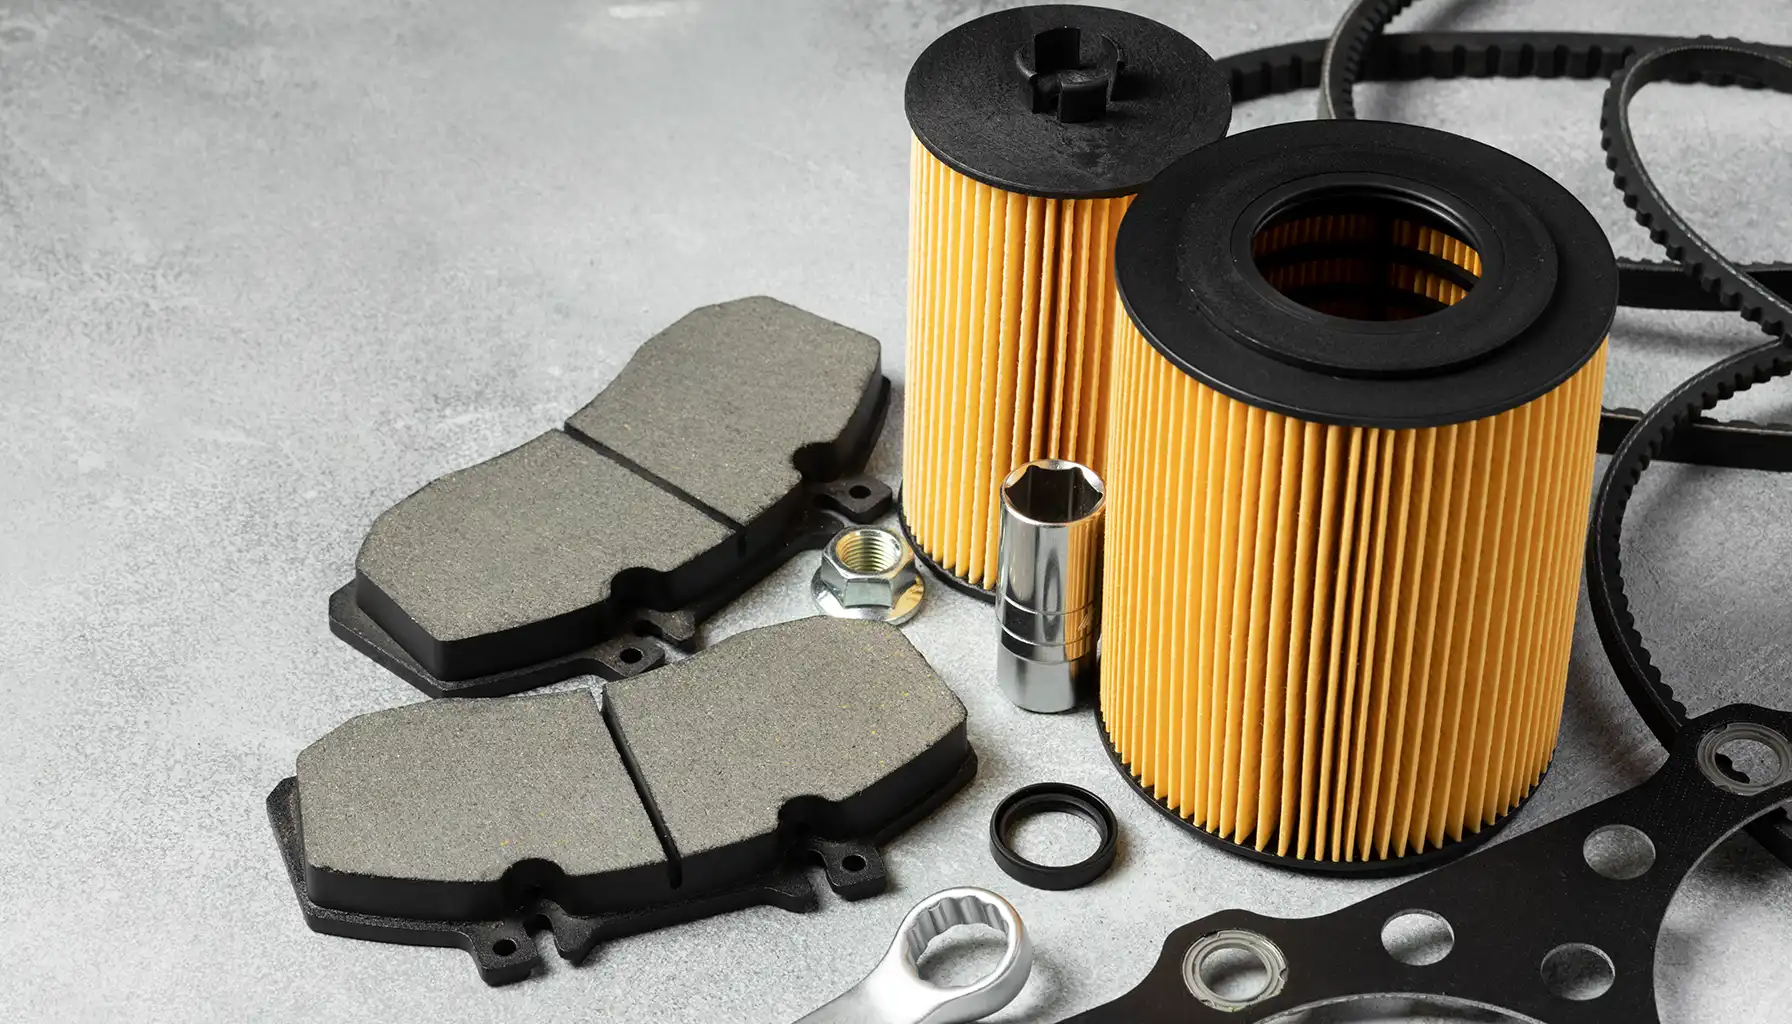
The principal tools include a high-quality torque wrench, a complete socket set, screwdrivers in various sizes and types, engine assembly lube, a gasket scraper, and a sufficient quantity of clean rags.
Every one of these tools counts in playing its critical role in the preciseness in assembly and the right amount of torque that is exerted in the rebuild process.
Having your exact model’s service manual for a Kia Optima would also be of real importance. It is the bible as to where the exact torque figures on con rod and other must-have information related to the Kia Optima may be located to make sure everything is torqued to the exact requirement that is needed.
Disassembling the Kia Optima Engine
Tired of looking at that same pile of parts on your workbench since your last Kia Optima short block rebuild planning session? Well, you’re in luck. The next part of the project is to tear it down. If the engine is still in the vehicle, remove it with much caution so as not to damage any other part.
With the engine out of the vehicle, begin stripping down the outside parts in an organized way. This means removing the intake manifold, exhaust manifold, timing cover, and oil pan.
Each of these parts is to be carefully handled during separation, and it is good practice to label and store each part and bolt in an orderly way.

Proper labeling will prevent confusions in reassembling, as each of these parts must return to its original place for the engine to work fine.
Disassembly has to be extremely careful and minute and, therefore, very patient and detailed. Most of your successes during the rebuild will depend on how well you manage through this stage.
Again, this is another part where you take note of the state of every part when it is removed. Anything showing signs of wear can be noted down for replacement so no trouble arises later on.
Inspection of Kia Optima Engine Components
Once the engine is disheartened, the second most vital process of the rebuilding action is the internal parts inspection. This is basically where the actual status of your engine is outlined and ascertaining that so far all the parts are in their good status of assembling.
Start your inspection by checking the inside of the cylinder walls for any signs of scratches or wear. There is an absolute necessity for a smooth, undamaged cylinder wall to achieve good sealing of pistons and rings; otherwise, neither efficient combustion nor power will be realized.
After checking out the cylinder walls, turn attention to pistons, rings, and bearings. These components are significantly under stress during engine operation and normally are the first to demonstrate wear and tear.

Check the piston rings in the same way for wear back and possible damage as these aid in gas compression in the engine.
The same shall be done for the crankshaft using a micrometer, and the measurement shall be used to establish its existing factory specifications to allow for the determination of the specifications and thus subject it to machining or replacement if it is out of specification.
All the above-inspected parts shall be cleaned adequately using a solvent accompanied by a soft brush. The cleaning process in the parts is imperative to rid them of oil, dirt, and metal chips that may cause contamination and rebuild.
Aesthetically, the cleaner components will look better finished, but also from the functional perspective, the cleanliness of the components will be crucial for the performance of the rebuild.
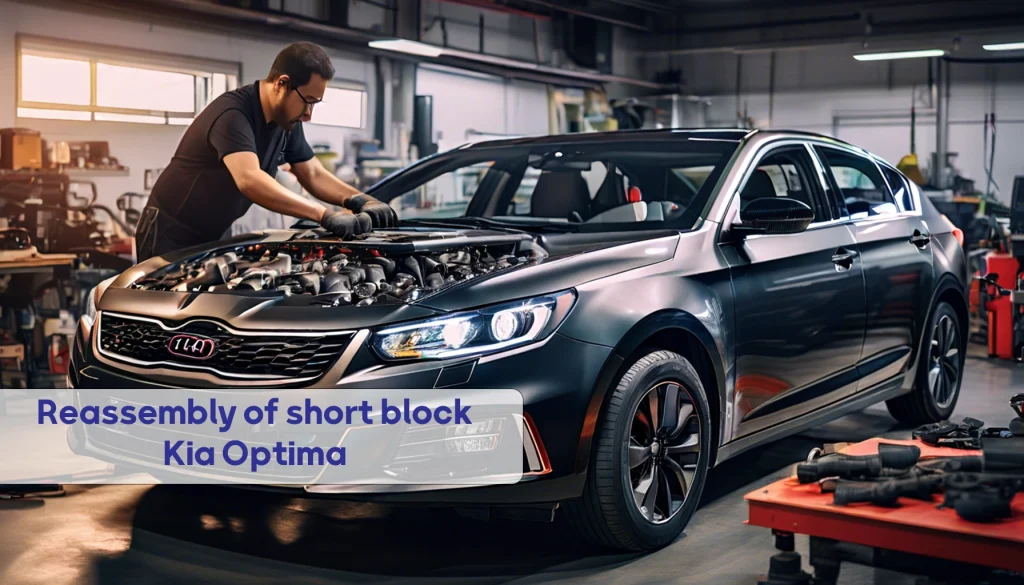
Reassembly of short block Kia Optima
With the Kia Optima’s block and pistons checked and cleaned, one can go ahead and start installing the rebuilt components back into their block.
At this stage of the rebuilding process, it is important to keep all details and ensure the correctness of the application.
You should begin by installing new pistons and rings in the cylinder block.
Engine assembly lube needs to be applied to the piston rings and bearings because otherwise the first few moments during startup are critical and proper lubrication of them is needed.
Slowly ease the crankshaft into the block, but take time to double- and triple-check that it’s fully seated.
The crankshaft is indeed regarded as the heart of the engine’s rotating assembly, so it really should be put in correctly to assure your engine will be perfect.
Once the crankshaft has been fully installed, reassemble the main bearing caps and related parts.
Kia Optima Rebuild: Correctly Applying Torque
Easily the most important step of the Kia Optima short block rebuild is applying the proper amount of torque to the many bolts during reassembly.
Improper torque application leads to engine failure, so it would be of the most importance to complete a successful rebuild.

For that specific torque values that you require for your Kia Optima G4KE engine, refer the service manual.
The provided bodyshop’s torque specs need to be observed on the various parts, including the Kia Optima connecting rod and cylinder head bolts, in order to achieve longer life and assure better performance of the engine.
Need connecting rod for you KIA Optima?
Start torquing with the main bearing caps in and Sequence and torque the bolts right in steps, usually from the central and outward.
This way, uniform pressure is brought upon the bearing caps to prevent any distortion on the crankshaft. Follow the same procedure with the cylinder head bolts, that is, torque every bolt in the ft-lbs the service manual sets.
Most G4KE engines have standard torque values of 50 Nm (37 lb-ft) for main bearing cap bolts and 80 Nm (59 lb-ft) for cylinder head bolts.
Remember, all these values need to be cross-confirmed from the table available in your service literature because there can be huge variations depending on your particular model year of Kia Optima.
Putting Back External Parts and End Process
Once the short block is completely assembled and all fasteners are torqued to specification the external accessories can be replaced. Then do these steps:
- Re-Install the oil pan and timing cover and Be sure to seat all gaskets properly to help prevent oil leakage
- Re-Install the intake and exhaust manifolds and all external accessory support like the alternator, water pump and other fittings at.
Make sure that in this process, each component must be installed as carefully and completely as when disassembling, because an error at this point could be disastrous to the rebuilder.
Every system should be cross-inspected before any engine is reinstalled in the vehicle. This can be done by checking that all the bolts are torqued correctly, all parts are installed correctly, and that no part is loose or unequipped.
A final inspection will not harm at all but in fact, it can save a fortune which could have been wasted in some expenditure because of a minor mistake which was not detected at that time when the engine is about to start.
Conclusion
Rebuilding a short block G4KE engine for a Kia Optima will require detailed planning, exact implementation, and adherence to key torque specifications.
In every step of this guide, from engine disassembly to its re-assembly applying the right torque to parts like Kia Optima connecting rods and cylinder head bolts, everything is done to the details.
The key to a successful rebuild lies in the details of using the right tools, following the recommended reassembly procedure, and paying special attention to the specified torque values in order to achieve an engine that works efficiently and without a hitch.
Properly torqueing Kia Optima con rod bolts and any other major fasteners indicates they are put on in such a manner that the engine components are held together with the right amount of grip such that absolutely no movement and absolutely no potential breaks in the assembly take place.
Finally, with these step-by-step instructions and all the proper torque specs in place, your engine can be rebuilt with confidence back to factory-new condition.