Replacing the Hyundai front brake pads and rotors on is a task that, while technical, is well within the reach of a determined DIY enthusiast. This process is not only a practical skill to acquire but also a cost-effective way to maintain your vehicle’s braking system, which is critical for safety. Properly functioning brakes are essential to the overall safety of the vehicle, and understanding how to replace these components can give car owners peace of mind, knowing that they can rely on their vehicle’s ability to stop effectively when needed. In this procedure you should do
- Gather Necessary Tools and Materials
- Prepare the Vehicle
- Lift the Vehicle
- Remove the Wheels
- Remove the Brake Caliper
- Remove Old Brake Pads and Rotors
- Install New Brake Rotors
- Install New Brake Pads
- Reattach the Brake Caliper
- Reinstall the Wheels
- Finalize and Test
Pros and Cons of DIY Brake Pad Replacement
Opting to replace your brake pads and rotors yourself comes with several advantages and disadvantages. One of the main benefits of performing this task yourself is the cost savings. By avoiding labor fees charged by professional mechanics, you can save a significant amount of money. Additionally, completing the task on your own schedule can be more convenient, eliminating the need to arrange transportation while your vehicle is at the shop. DIY brake replacement also provides a sense of accomplishment and a deeper understanding of how your vehicle functions. However, this approach does have its downsides. For beginners, the process can be intimidating and time-consuming, especially without prior experience. There’s also the risk of making errors during the installation, which could compromise the effectiveness of the braking system. Furthermore, without professional tools and a proper workspace, the job might become more difficult than anticipated.
So in summary we should consider these options:
Pros of DIY Brake Replacement
- Significant cost savings by avoiding labor fees.
- Convenience of working on your own schedule.
- Learning opportunity and increased understanding of vehicle maintenance.
- Sense of accomplishment and self-sufficiency.
Cons of DIY Brake Replacement
- Potential for mistakes due to inexperience, which can compromise safety.
- Time-consuming, especially for beginners or those without the right tools.
- Lack of access to professional-grade tools and equipment.
- Risk of overlooking other potential issues with the vehicle.
On the other hand, taking your vehicle to an expert technician or mechanic offers its own set of pros and cons. The primary advantage is the assurance of a job well done. Professional mechanics have the experience, tools, and knowledge to complete the brake replacement efficiently and correctly. This minimizes the risk of mistakes and ensures that your vehicle remains safe to drive. Moreover, a mechanic can often identify other potential issues with your vehicle during the brake replacement process, offering preventative maintenance that a DIY enthusiast might overlook. However, the main drawback is the cost. Professional services can be expensive, and labor fees can add up quickly. Additionally, leaving your vehicle with a mechanic requires scheduling and may result in being without your car for a period of time.
Pros of Professional Brake Replacement
- Expertise ensures correct and safe installation.
- Access to professional tools and diagnostic equipment.
- Potential for identifying other issues with the vehicle.
- Saves time and effort, especially for those unfamiliar with car maintenance.
Cons of Professional Brake Replacement
- Higher costs due to labor fees.
- Inconvenience of scheduling and potential downtime without your vehicle.
- Less personal involvement and learning in vehicle maintenance.
Hyundai Brake Replacement Step By Step
Here the step by step procedure of the Kia and Hyundai brake replacement tutorial. You can even watch the video below to see the procedure:
Gathering the Necessary Tools and Materials
Before diving into the brake replacement process, it is essential to gather all the required tools and materials. Being well-prepared ensures that the process is smooth and uninterrupted. The tools needed for this task include new brake pads, new brake rotors, a jack and jack stands, a lug wrench, brake cleaner, a torque wrench, a C-clamp or brake caliper tool, a screwdriver, and personal protective equipment such as gloves and safety goggles. Each tool and material plays a specific role in the replacement process, and having them on hand from the start is crucial for efficiency. For instance, brake cleaner is vital for ensuring that the new rotors are free from any oils or contaminants that could affect their performance. Similarly, the torque wrench is critical for ensuring that all bolts are tightened to the manufacturer’s specifications, preventing potential issues from improperly torqued fasteners.

Preparing the Vehicle
The preparation stage is as crucial as the replacement process itself. It involves ensuring that the vehicle is parked on a flat, stable surface, which is vital for safety throughout the procedure. Engaging the parking brake adds an extra layer of security by preventing the vehicle from moving while it is being worked on. Additionally, slightly loosening the lug nuts before lifting the vehicle is recommended. This small step can make it easier to remove the wheels later, as the resistance from the ground will help keep the wheels stable while you turn the lug wrench.
Lifting the Vehicle
Once the vehicle is prepared, it’s time to lift it using the jack. The vehicle’s manual should be consulted to locate the proper jacking points, which are specific areas of the car’s undercarriage designed to bear the weight of the vehicle safely. After positioning the jack and lifting the vehicle until the front wheels are off the ground, jack stands should be placed under the vehicle to ensure it remains securely elevated. Relying solely on the jack is not advisable, as jacks can fail, leading to potentially dangerous situations. Using jack stands provides the necessary stability to work safely underneath the vehicle.
Removing the Wheels
With the vehicle safely lifted and secured, the next step is to remove the wheels. This is done by fully unscrewing the lug nuts, which were previously loosened. Once the lug nuts are removed, the wheels can be carefully taken off and set aside. This exposes the brake caliper, which is the next component to be addressed.
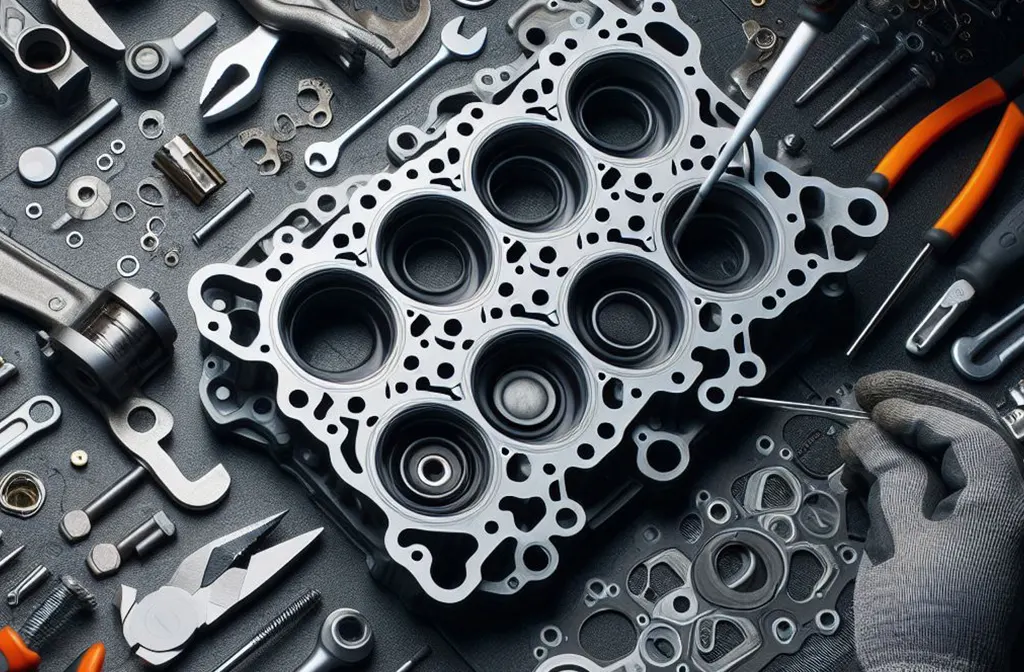
Removing the Brake Caliper
The brake caliper holds the brake pads in place and is a critical component of the braking system. To remove it, the caliper bolts must be located and unscrewed using the appropriate socket. It’s important to support the caliper after it is removed, as allowing it to hang by the brake line can damage the line, leading to brake fluid leaks and a potential loss of braking power. A bungee cord or rope can be used to secure the caliper safely, keeping it out of the way while the brake pads and rotors are being replaced.
Removing the Old Brake Pads and Rotors
With the caliper safely out of the way, the old brake pads can be slid out of the caliper bracket. These pads will likely show signs of wear, such as thinning or uneven surfaces, which is an indicator that replacement is necessary. After removing the pads, the rotor can be taken off. This may involve unscrewing retaining screws, depending on the vehicle model. If the rotor is stuck due to rust or corrosion, gentle taps with a rubber mallet can help dislodge it.
Installing the New Brake Rotors
Before installing the new rotor, it is important to clean it with brake cleaner to remove any protective oils applied during manufacturing to prevent rust. This step is crucial because these oils can cause the brakes to function improperly if not removed. Once cleaned, the new rotor is positioned on the hub, ensuring it sits flush against the mounting surface. If the vehicle uses retaining screws, they should be reinstalled to secure the rotor in place.
Installing the New Brake Pads
The next step involves preparing the caliper for the new brake pads. This is done by using a C-clamp or a brake caliper tool to compress the caliper piston back into its housing. This compression is necessary to make room for the thicker new pads. After the piston is compressed, the new brake pads can be slid into the caliper bracket in the same orientation as the old ones. Proper alignment is key to ensuring that the braking system functions correctly once reassembled.
Reattaching the Brake Caliper
With the new brake pads in place, the brake caliper can be reattached. This involves aligning the caliper over the new pads and rotor and then reinstalling the caliper bolts. It is critical to use a torque wrench to tighten these bolts to the specifications outlined in the vehicle’s manual. Properly torqued bolts ensure that the caliper remains securely in place, which is essential for the braking system’s effectiveness.
Reinstalling the Wheels
After the brake caliper is secured, the wheels can be placed back onto the vehicle. The wheel holes should be aligned with the hub, and the lug nuts should be hand-tightened to secure the wheel initially. After lowering the vehicle back to the ground, the lug nuts should be fully tightened in a star pattern using a lug wrench. This pattern ensures even pressure on the wheel, which is crucial for preventing issues like warped rotors or uneven tire wear.

Finalizing and Testing
The final step involves tightening the lug nuts fully, checking the brake fluid level, and testing the brakes. The brake pedal should be pumped to seat the new pads against the rotors, which may take a few pumps to achieve a firm pedal feel. It is also important to check that the brake fluid in the master cylinder is at the appropriate level, as it may have dropped during the pad and rotor replacement. Before driving the vehicle, a short test drive in a safe area is recommended to ensure that the brakes are functioning correctly.
Conclusion
Replacing the front brake pads and rotors on a Kia or Hyundai is a task that, with the right tools and careful attention to detail, can be accomplished by most DIY enthusiasts. This process not only ensures the proper maintenance of your vehicle’s braking system but also contributes to the overall safety and performance of the vehicle. While this guide provides a comprehensive overview of the replacement process, it is always advisable to consult your vehicle’s manual for specific instructions and torque specifications. If at any point you feel unsure or encounter difficulties, seeking assistance from a professional mechanic is a wise choice.